The end of the year is fast approaching and you’re probably wondering what you can do in your secondary math class to make the most of the time left. Here are some suggestions. See what will fit your situation!

- The obvious thing to do is review. You’ve covered a lot of topics throughout the year, so take some time to go over key concepts and formulas. Throw in some practice problems, games, technology, and hands-on activities to reinforce what has been learned. Reviewing is boring, so as you read down this list, use some of these strategies in your reviews.
- Another idea is to assign a project that allows students to apply what they’ve learned to a real-world problem. This would be a great way to see math in action and flex their problem-solving muscles. An example would be to have students model real-world phenomena, such as population growth or temperature changes, using algebraic functions. This project would require students to apply their knowledge of function notation and graphing to real-world scenarios.
- You will probably be giving exams, so another thing to talk about is test-taking strategies. Discuss how to read and interpret word problems, how to show work, and how to avoid common mistakes. Practicing these skills would be beneficial to show students how the strategy works. Teach your students how to make a brain dump. This is especially helpful for state exams.
- Create a fun and engaging math competition for students to participate in. This can be a great way to end the year on a high note and showcase students’ math skills.
- Offer individualized feedback to students on their performance throughout the year. This can help them identify areas for improvement and develop a growth mindset. If you have over 100 students, this could be a daunting task. Ask students to self-reflect first, then you could quickly add a statement or two and comment on what they felt were their strengths and weaknesses.
- Recognize students who have excelled or improved in math throughout the year. This can be done through awards, certificates, or other forms of recognition. It’s also fun to give silly awards since, at this point in the year, you know the students so well.
- Encourage students to set goals for themselves and create a plan to achieve them over the summer or in the next school year. It is a great skill to learn how to set goals. The great thing is that you don’t have to look at them. Have students type the goals in the notes on their phones and then encourage them to occasionally look at them to see their progress.
- Reflection activities can help students process their math learning and prepare them for future math classes. Some ideas are surveys, class discussions, journaling, writing a letter to their future self, and creating a portfolio with some of their best work.
- Choose a math-themed movie or documentary to watch in class and use it as a springboard for discussion and learning. Some great options include “Hidden Figures”, “A Beautiful Mind”, “October Sky”, and “The Story of Maths”.
- Create or have your students create math-themed board games that can be played in class. This is a great way to review key concepts while having fun with your students.
- Group challenges encourage teamwork, foster critical thinking, provide a fun and engaging experience, build problem-solving skills, and promote healthy competition. Some group challenges are scavenger hunts, escape rooms, Kahoot, Quizizz, Jeopardy, debate, and so forth.
- Take your students on a math-focused field trip to a museum, science center, or even a local construction site. This can help them see the practical application of math in the real world.
- Bringing in a guest speaker would be a nice change and break up the monotony at the end of the year. It can inspire and motivate students, provide a different perspective, introduce new topics, build connections, and offer networking opportunities.
- Peer tutoring is a great way to add something special to the end of the year in a math class. It encourages collaboration, builds confidence, reinforces learning, provides personalized learning, and promotes social skills.
- Go outside if it’s feasible. Let students take their math notebooks and pencils and sit under a tree to study or take chalk outside and let students work on math problems on the sidewalk. Getting outdoors at the end of the year is a great way to refresh and rejuvenate yourself and your students!
It’s super important to plan out the end of the year for your math classes. You don’t want to bore your students with endless reviews and exams. Instead, make it fun with cool activities that connect what they learned to the real world. Personalized feedback is a must too, so get to planning and make the end of the year a blast for your students!
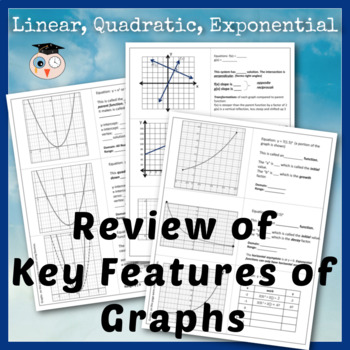
Here are some of my own resources that I tend to use at the end of the year: