I love small group quizzes for so many reasons! Its a win win situation. I cannot say enough about this type of strategy. I’ve done group quizzes for many years, but with the help of my peers, I’ve figured out the way that works best for me. I’ve also discovered that it will evolve the more you do it. You’ll get an idea to try something new or you’ll stop doing something else that’s not working the way you want.
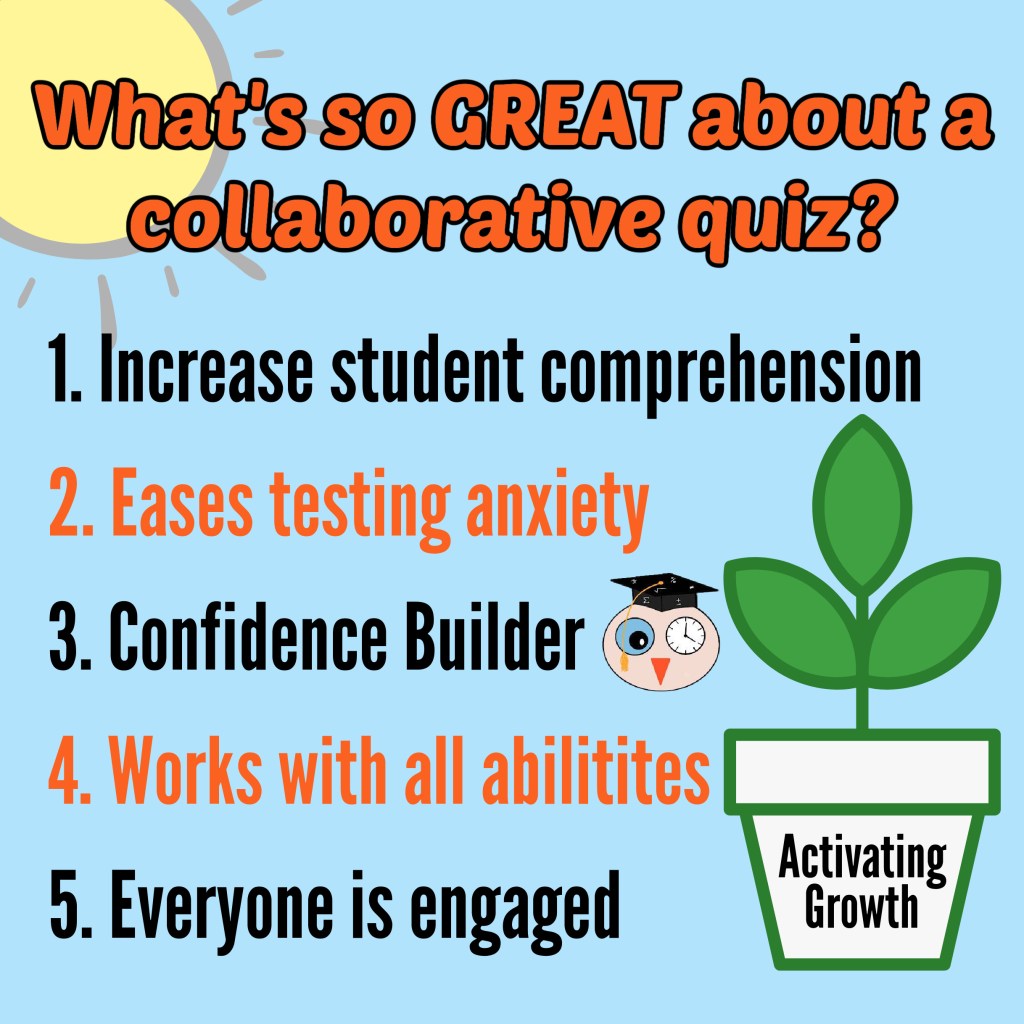
What are group quizzes? Group quizzes are collaborative quizzes that give students a chance to deepentheir learning through discussions. Imagine awesome engagement and conversations. Imagine all levels of abilities working together and activating growth. THAT’s what happens during a well constructed small group quiz.
I have 2 ways of doing these quizzes:
Students are put into groups of 4. Each student will receive their own version of the quiz. Yes, this means you need at least 4 versions of the same quiz. Students work together through discussions to complete their own quiz. THE DISCUSSIONS ARE AMAZING! I do not allow students to grab each other’s papers and copy straight from them. That is a big no no…(so you do have to walk around a bit, but I can still get so much done while the kids are working together it’s not even funny.)
Students are put into groups of 3, 4 or 5. All students in the group have the same quiz. Assign each student a letter or a number. They write that letter or number beside their name in INK! The students work together to complete the quiz. (Again, they cannot grab someone’s paper and copy it.) At the end of the allotted time, the teacher will spin a spinner, roll some dice or use some sort of number or letter picker to decide whose paper will be the one graded for the group. The person that is selected will put their paper on top of the group pile with everyone else’s paper below. The quizzes are paperclipped and turned in. I usually grade the top paper only, but I’ll flip through the pile to make sure everyone was successful. I tell the students ahead of time what will happen at the end of the time. Throughout the quiz I give reminders to not allow anyone to sit and do nothing since their paper might be the one graded for the group. A little peer pressure is ok. I don’t allow anyone to be mean, but I’ve never found that to be the case. If I see that someone actually could hurt the group, then I’ll do something creative so that person doesn’t cause any issues.
If you’ve never tried a group quiz or think that your students are too rowdy for this, then think again. Try it! You will need to put some thought into your groups ahead of time. I like to make sure that I have some high abilities with some strugglers. I try to put some quiet people with the loud people. I never let them pick their own groups. I do not ever put all strugglers together or all high abilities together. I usually go by grades in the gradebook and then I think about who gets along. I use my name plates (we make these at the beginning of the year and it is mentioned in the post: 1st Week of Math Class Ideas) to put people in their groups. I will not let kids enter the room until I’ve place the names plates on the desks.
Hopefully, I have you motivated to try this strategy. If you need some quizzes to use, I have started creating some. I will be making more throughout the year, so please check often. Each set has 4 versions of the same quiz, so you can use either of my two strategies that I mention above. If you will follow me on Teachers Pay Teachers, you will know when I upload new resources. They are always 50% off for 24 hours.
Disclaimer: This site contains affiliate links in which I will get a commission if you decide to buy something using the link I provided.
You may be wondering what the first week of math class should really look like — especially if you’re teaching middle or high school. Maybe you’re aiming to make everything perfect, or maybe you’re just trying to survive the chaos.
Either way, I’ve been there. I spent over 35 years in the classroom, and I always believed the first week was about more than content. It’s about systems, structure, and connection.
So here’s what I recommend (and what I used myself) for that first week of school.
Start with a Plan and a PowerPoint
For new teachers, I recommend using a PowerPoint on Day 1 to walk students through your rules and procedures. If you’ve read Harry Wong’s First Days of School, you know how powerful this foundation can be. If you’re a veteran teacher, you might prefer to break up the PowerPoint across the week and mix in more community-building and routines practice.
About Me + Name Plates
As students walk in on the first day, I have two things waiting on their desks:
An “About Me” page (as bell work)
An index card to make a nameplate (Suggestion: Use colored index cards — a different color for each class)
The folded nameplate helps me learn names quickly and gives students something productive to do. I keep these nameplates all year, clipped by class — super handy for randomly calling on students or activities where I move seats.
I keep all name plates for each class on a clip as shown above.
YouCubed
The other thing I liked to do during the first days of my math class was use activities from YouCubed. The ones I focused on came from the Week of Inspirational Math(s). I’ll give more specifics in my weekly plan.
Editable Scavenger Hunt: A customizable way to familiarize students with the classroom.
Editable Syllabus Template: Easily customize to fit your classroom policies and curriculum.
“Get to Know You” Activities: Fun and engaging ways to learn about your students.
Parent Contact Forms: Communicate with parents from day one.
First-Day PowerPoint: Kick off the year with a polished presentation.
I hope this gave you ideas or reassurance that it’s okay to take your time the first week. And don’t forget to collaborate with your team — every teacher does things a little differently, and that’s okay.
Wishing you a great year ahead! Lisa Time Flies Math
Disclaimer: This post contains affiliate links. If you make a purchase, I may receive a small commission at no extra cost to you.
Semester finals are coming! Of course you will review and try to prepare your students, but time is limited. How can you help your students do better and still keep your standards high?
USE AN ANSWER BANK.
If you have a 20 question test and you have 20 answers in an answer bank, your test is still challenging but you are giving your students hope which means they will put more effort into trying! That’s what we want, right? EFFORT!
Will some students guess by using the answer bank? Absolutely! When I give an answer bank, I have two rules:
Students have to keep the test for a certain amount of time before turning it in.
Students have to show work on all of the problems.
Try it this year. I think that you will be pleasantly surprised. If students feel like they have an advantage, it makes a big difference in their attitude. Please let me know how this goes for you.
I have two final assessments with answer banks if you would like to try them. (My Algebra 1 Final with an Answer Bank is in the works. Be on the lookout for it soon!)
Sometimes you’ve just got to get started and quit worrying about the perfect way to do something! As teachers, we tend to overthink. We want everything to be perfect. In teaching, there is no perfect. Just dive in and GO!
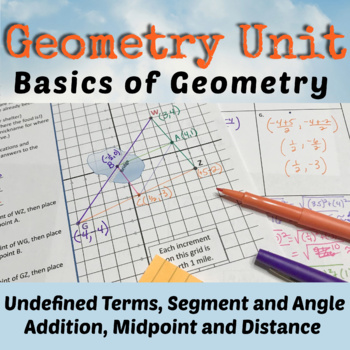
There is no better place to start in geometry than with the three undefined terms: point, line and plane! First, I like to see what students remember from past geometry lessons so I’ll ask them to list as many things as they can think of from their past math classes that had to do with geometry. I am amazed at how many students just sit and stare when I ask them to create that list. Sometimes I’ll have to prompt them by saying, “Do you know any shapes?” If they say yes, then I say, “Then you know some geometry.” I’ll ask again, “Do you know what a right angle is?” They usually say yes, so this is a nice way to get the ball rolling.
Now that the students realize they have an idea of some geometric concepts, I begin my lesson. We talk about how hard it is to define a point without giving an example. I go on to talk about line and plane and we discuss how in real life, there are no lines that go forever on this earth so we have to use examples that come close.
Next, I bring up some other important objects to see if students know what they are, such as segments, rays and angles. Students usually remember these from the past, but they are not familiar with how to name them using symbols. We discuss how to use a combination of letters and symbols to name things and how sometimes, you can use multiple ways to name the same object. Students struggle with writing names of geometric objects the correct way, but they get better as the year progresses.
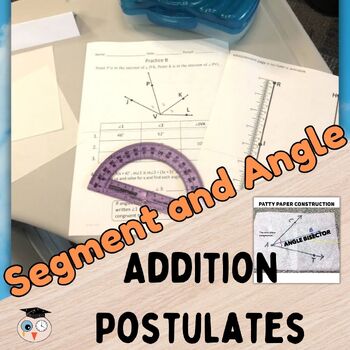
When I talk about angles, I like to bring out the patty paper. This really gets the definition of an angle across. I like to have students draw two different rays on separate pieces of patty paper. They call one Ray CA and the other Ray CB. We then work on creating different types of angles and then they tape it into their notebook. Regular paper would work for this as well. You can see through regular paper well enough to do this exercise. ***Side note – If you are in a distance learning situation, think about materials that students should have on hand and tell them ahead of time! You might need to get creative.
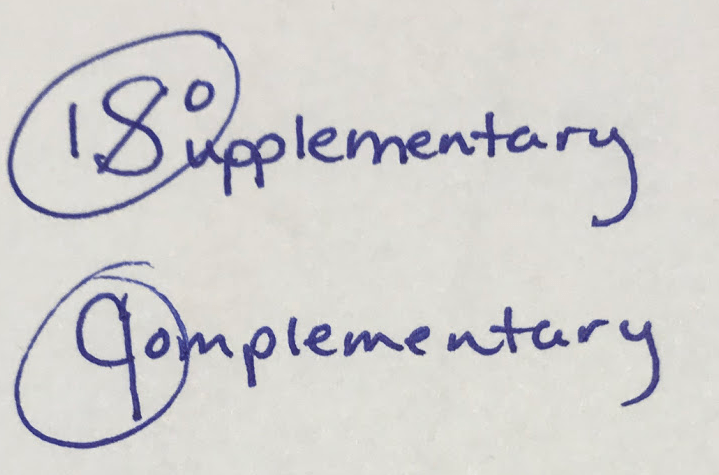
Another geometric concept that students usually know before entering my class is supplementary and complementary angles. If they struggle on knowing the difference, I use this little trick seen on the left. After I show the students this visual, they never forget the difference!
I finally finish up the lecture part of the lesson by discussing adjacent angles, vertical angles and linear pairs. We also need to spend time on collinear points, noncollinear points, coplanar points and noncoplanar points. This lesson is packed full of vocabulary so students need to start an interactive notebook to keep all of this information. ***Play-Doh is a great visual when explaining some of the vocabulary!Imagine three Play-Doh balls place in a line with a pencil or a straw place on top of them. This would show collinear points!
We do some practice worksheets to make sure they are starting to understand. The next time we meet, we will work on the postulates that use these basic terms and try to use as many real-life objects as we can when discussing them. Here’s an example of my Google Slides presentation of one of the postulates:
I like to give a quiz over this lesson after students have completed the work. I give them a warning that the quiz will happen the next class. To make sure they do well on the quiz, we grade each other’s classwork and homework and make corrections and then give it back to the owner. ***In a virtual lesson, have students grade their own. Call on individuals to give their answers. I usually just give a completion grade over this because it’s not usually a pretty grade 🙂
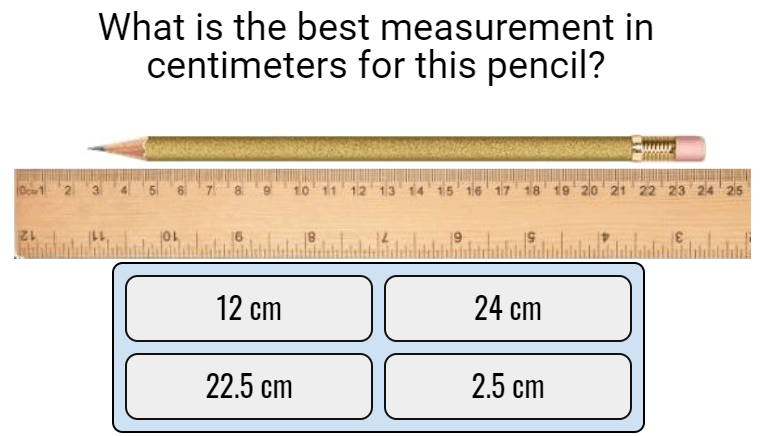
The second big lesson of the year that I cover is segment addition and angle addition. This lesson has everything: measurement, setting up equations, solving equations and more postulates. It’s also great for continuing to discuss the correct way to name segments and angles. I love having students measure things because even in high school, they struggle on this. I find that they have misconceptions on how to measure inches. Students will try to measure something that is 1.125 inches as 1.1 because they are confused on the precision and do not understand that inches are not broken into tenths like centimeters are. (WHEW! Yes, sadly this is true.)
I’m ready to do this lesson virtually or in a live classroom this year by having rulers and protractors ready to go on my digital lessons. I’m anticipating some fun with this and I do expect some questions about accuracy. I know some students will round to whole numbers which is not what I want.
I love love love the equations involved in segment and angle addition. Students get practice on setting up equations correctly and then solving and plugging back in to find the segment or angle. It’s so important to use Algebra in Geometry as much as possible. ***Side note: If you are from Texas, your Geometry students will likely be preparing for the Algebra STAAR that they missed last year, so be sure to cover equations every chance you get.
I made a video preview of the digital version of this lesson if you’d like to take a look:
Before I give a quiz over the segment addition and angle addition material, I want to review all the things that we’ve done so far. I’ll give my students the Boom Cards that cover the first and second lessons. If you have not used Boom Cards, you need to start! I love Boom Cards. You can join for super cheap and there is even a free version, but you’ll want to upgrade after to you use it!
After all this practice, the students are ready for the next quiz. I like to give a lot of quizzes in Geometry because there are so many details and this is a great way to see how students are doing.
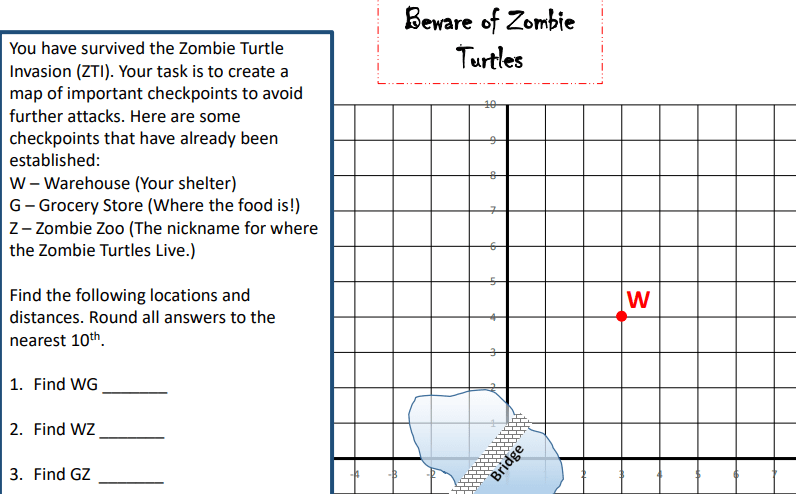
The last lesson in my first unit of Geometry covers distance and midpoint. This activity requires the student to be active! Students will discover both methods and see that they would probably figure out how to find these lengths and points or locations on their own using logic. Students should have learned Pythagorean Theorem in the past and I like to show the students how the distance formula was derived from the Pythagorean Theorem.
The last part of this activity is a silly made up story that I call the Zombie Turtle Problem. (Have you ever heard the Tom Petty song, Zombie Zoo? This song inspired me to do this problem. The song is silly but I love it.) I’ve placed some items on a map and the students have to find different distances and midpoints and then I tie in perimeter. Here’s a snippet of the problem:
I’ve recently made all three of these resources ready for a virtual learning situation. Teachers Pay Teachers has made this possible for all resources that were originally downloaded as a PDF. I’m excited that no matter what situation I go back to in the fall, I’ll have these up and ready to use whether I’m in a live classroom or I’m delivering my lessons via a digital platform.
Before you leave, go check out the freebie that you can use for later in there year. It’s down below my resources!
All of these lessons are in Unit 1, but they come individually as well! Check out the links below. Good luck and I hope you’re excited for your first lessons in Geometry!